
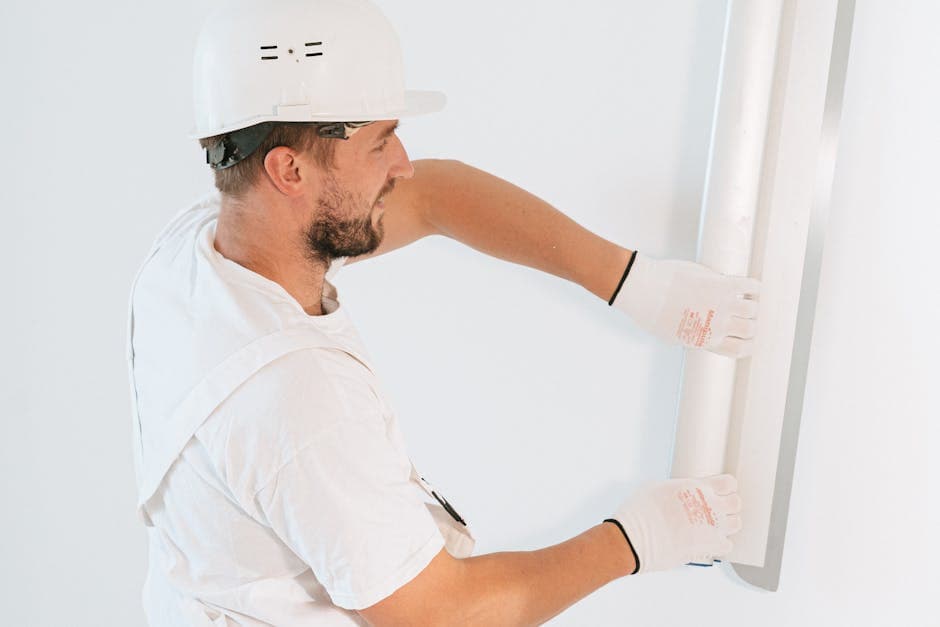
Invisible Patches, Smooth Finishes,
No Trace of Damage
A bad drywall patch is worse than the hole — visible bumps, mismatched texture, and an obvious "fixed it myself" look. RO's drywall crew handles everything from nail-pop touch-ups to full water-damage rebuilds, with proper feathering, primer, and texture matching that disappears into the wall.
Drywall Repair
Guide
What It Is
Drywall repair restores damaged wall and ceiling surfaces — patching holes, fixing cracks, replacing water-damaged sections, repairing nail pops, and matching existing texture. A proper repair includes structural backing for larger holes, multiple coats of joint compound, careful sanding, and texture matching so the patch is invisible after paint.
When You Need It
Most common triggers: doorknob dents, accidental holes from moving furniture, settling cracks at corners and ceilings, water leaks (always fix the leak first), nail pops as houses settle, and post-renovation patches where outlets or plumbing were moved. Larger jobs include full-room re-mudding after textured ceilings come down, or hanging new drywall after framing repairs.
Cost & Timeline
Small patches (under 6 inches) run $100–$250 per hole including materials, finishing, and primer. Medium repairs (6–24 inches with backing) run $250–$600. Full sheet replacements run $400–$900 per sheet hung and finished. Complete room re-mudding runs $1,500–$4,000. Most repairs take one visit; texture and paint matching may need a return for the topcoat after compound dries (24–48 hours).
Why It Matters Here
Upstate SC humidity makes drywall mud dry slower than in dry climates — pushing through with too-thin coats causes shrinkage and visible patches months later. Properly executed repairs use multiple thin coats with proper drying time between, so the finish stays smooth as the house settles through seasonal humidity swings. Bad patches show up the first hot summer when humidity changes pull them tight.
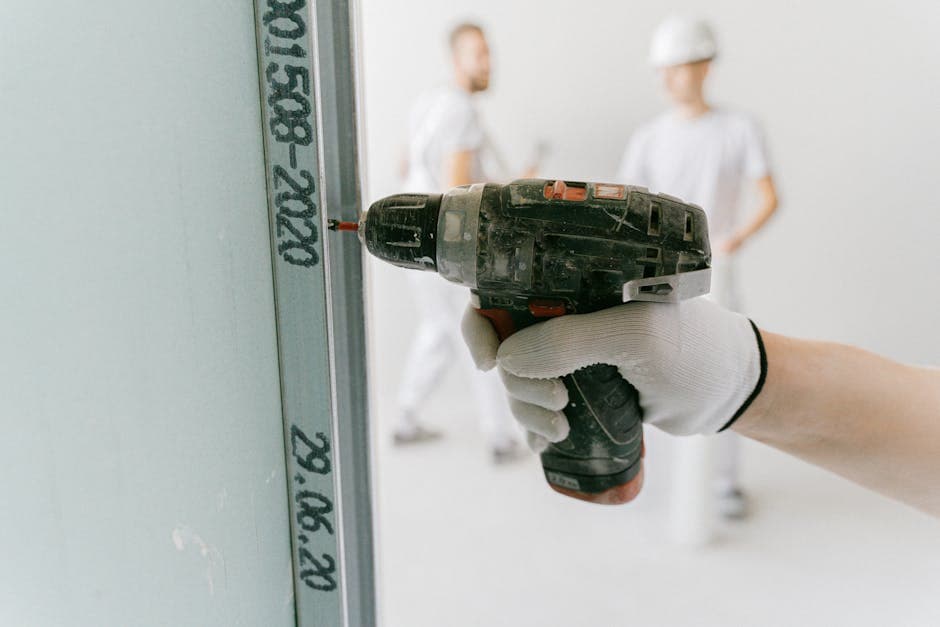
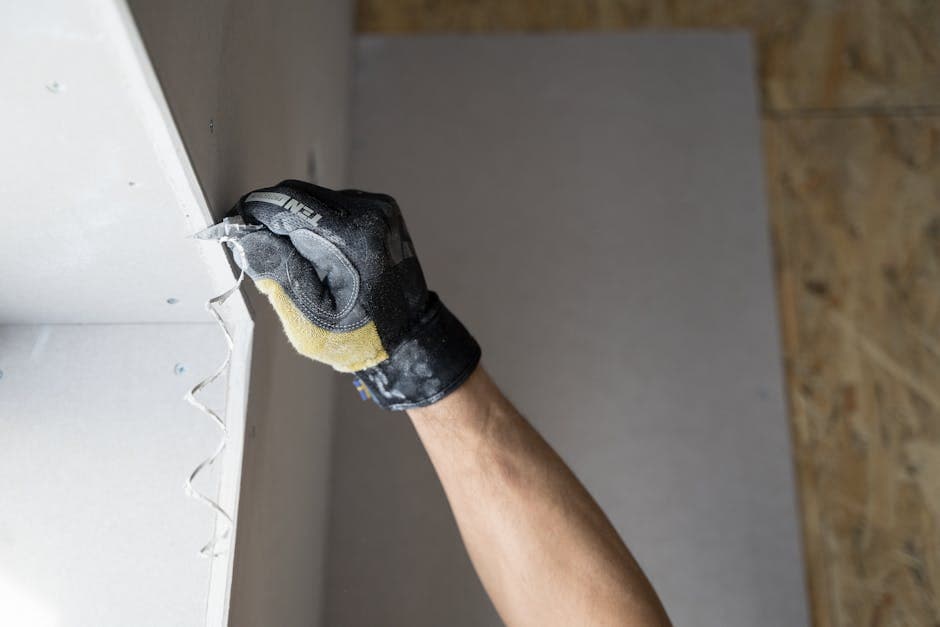
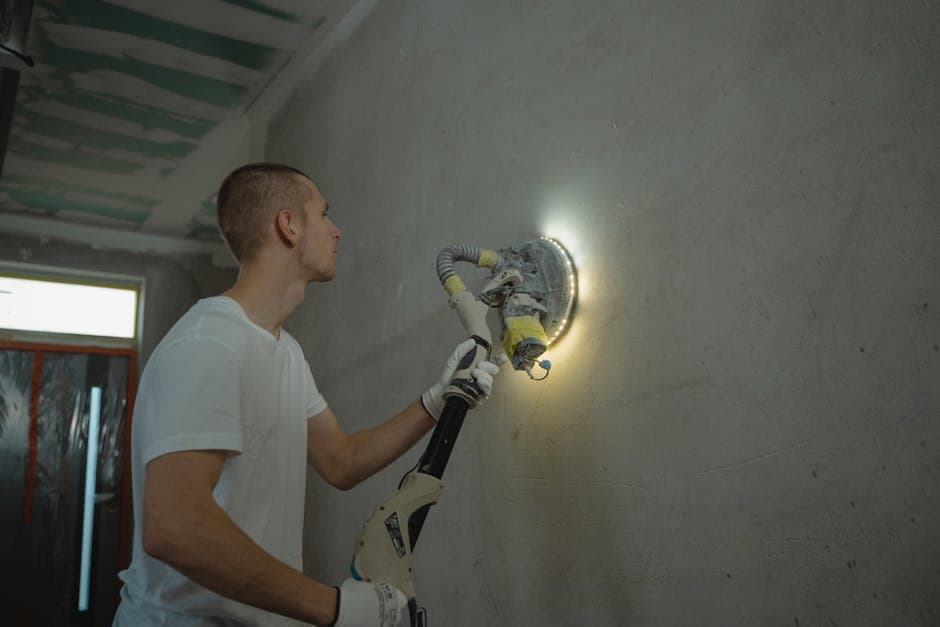
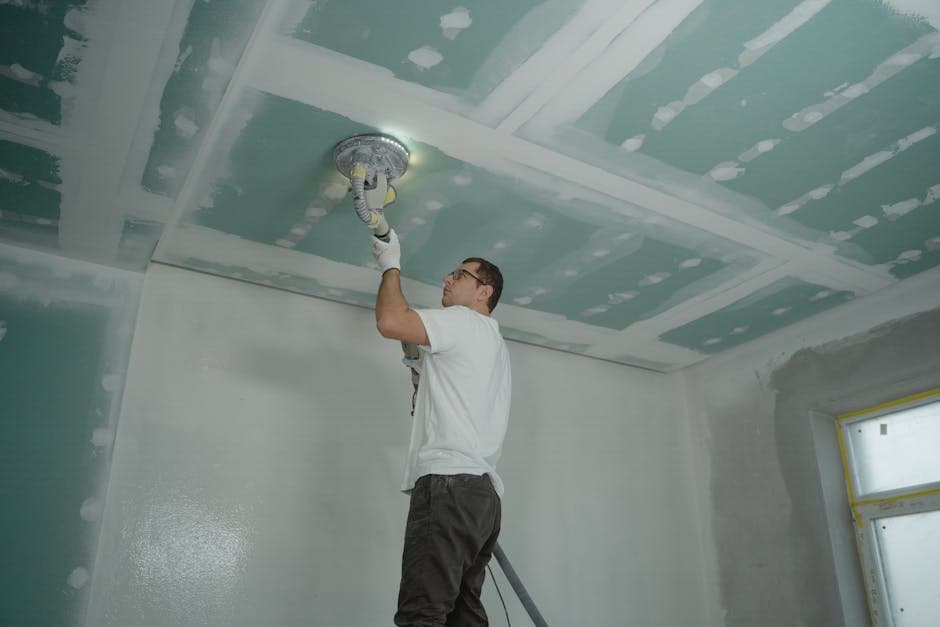
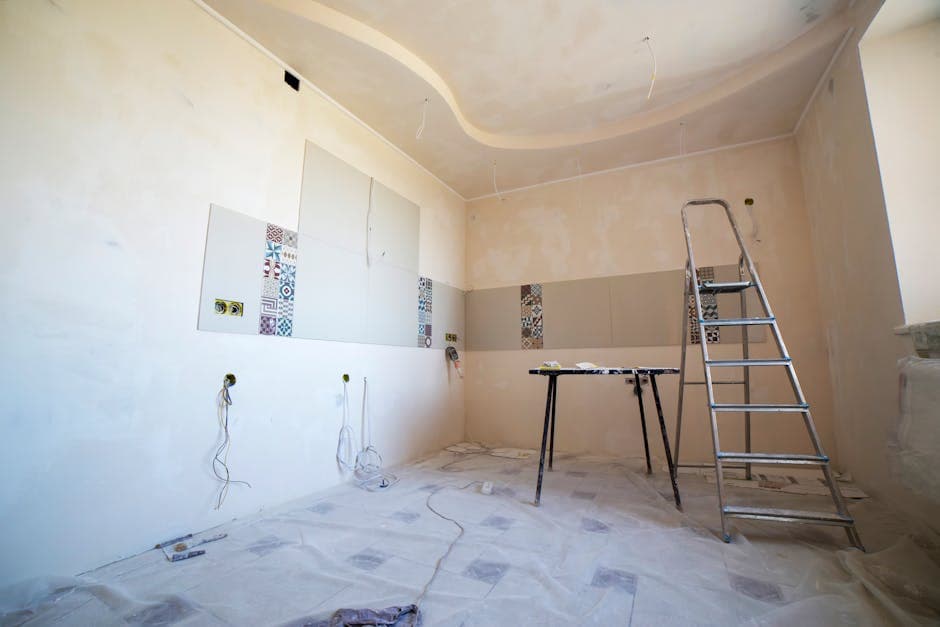
Drywall Repair Gallery
Warning
Signs
Cracks appearing or growing along corners or above doors
These are typically settling cracks. Small ones can be patched with mesh tape and joint compound. Cracks that recur after patching may indicate structural movement that needs investigation before drywall work.
Brown or yellow staining on ceilings or walls
Active or past water damage. Drywall absorbs water and loses structural integrity. The leak source must be fixed before any drywall repair, otherwise the patch fails within months.
Soft or sagging drywall
Drywall is failing structurally — usually from extended water exposure or improper installation. This requires removal of the affected section, not just a patch. Mold inspection may also be needed.
Visible nail or screw heads pushing through paint
Nail pops are extremely common as homes settle. Each pop needs the fastener reset, the area patched with compound, sanded flush, primed, and painted. Cheap "fix" of just dabbing paint over them never lasts.
Texture mismatch from previous repair attempts
Bad texture matching is the #1 sign of DIY repair. Proper matching requires identifying the texture type (orange peel, knockdown, popcorn, smooth) and applying with matching tools and pressure.
Cracks radiating from corners of windows or doors
Common stress points. Usually cosmetic but can indicate framing issues if cracks are wide or the wall feels soft. Inspection determines whether it's just settling or needs structural attention.
Drywall coming loose from wall or ceiling
Fastener failure — the screws or nails have lost their grip. Requires re-fastening with new screws into solid framing, then re-mudding the dimples. Ceilings especially urgent due to fall risk.
Maintenance
Tips
Our
Process
Assessment & Backing
We assess the damage, look behind the wall for any plumbing, wiring, or HVAC concerns, and determine whether the patch needs framing backer (anything over 4 inches typically does). Larger holes get wood or backer-board scabs to provide solid mounting.
Patch & First Coat
For holes, we cut a clean rectangular opening, install backing, and screw in a drywall patch. Joint compound and tape (mesh or paper) bridge the seam. The first coat is left intentionally rough for adhesion of subsequent coats.
Build & Feather
Two or three additional coats of compound, each wider than the last, feathering the patch into the surrounding wall. Each coat is allowed to fully dry (often overnight) before the next. Cutting corners here causes visible patches later.
Sanding & Texture Match
Sanded smooth with progressively finer grits, then textured to match the surrounding wall. Texture matching is the single hardest part — orange peel, knockdown, popcorn, and skip trowel each require specific tools and technique.
Prime & Paint
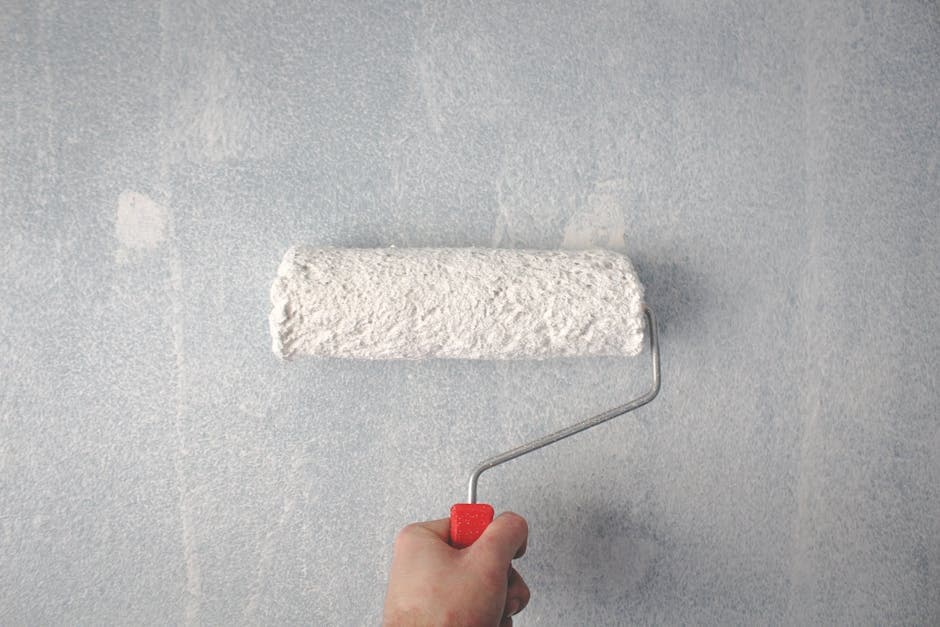
Primer seals the new compound and prevents flash-through (where the patch shows through the topcoat). Paint applied to a feathered area surrounding the patch — not just the patch itself — ensures the repair is invisible.
Cost & Lifespan
Prices are estimates for Upstate SC — get a real quote for your project.
FAQ
Explore More
Get Your
Quote
Call us directly or request a quote online. No pressure, no upselling — just honest answers about your drywall repair needs.
(864) 304-0139